- PC
- MAC
- Linux
- 운영체제: Windows 10 (64 bit)
- 프로세서: 2.2 GHz 듀얼코어 이상
- 메모리: 4GB
- 그래픽 카드: DirectX 11 이상을 지원하는 AMD Radeon 77XX / NVIDIA GeForce GT 660. 최소 사양 해상도: 720p
- 네트워크: 브로드밴드 인터넷
- 여유 저장 공간: 22.1 GB (최소 클라이언트)
- 운영체제: Windows 10/11 (64 bit)
- 프로세서: Intel Core i5 또는 Ryzen 5 3600 이상
- 메모리: 16 GB 이상
- 그래픽 카드: DirectX 11 이상을 지원하는 Nvidia GeForce 1060, 또는 AMD RX 570 혹은 그 이상
- 네트워크: 브로드밴드 인터넷
- 여유 저장 공간: 62.2 GB (전체 클라이언트)
- 운영체제: Mac OS Big Sur 11.0
- 프로세서: 최소 2.2 GHz의 Core i5 (Intel Xeon 은 지원하지 않습니다)
- 메모리: 6 GB
- 그래픽 카드: Metal 을 지원하는 Intel Iris Pro 5200 (Mac), 혹은 이와 비슷한 성능을 가지는 Mac 버전의 AMD/Nvidia. 최소 해상도: 720p
- 네트워크: 브로드밴드 인터넷
- 여유 저장 공간: 22.1 GB (최소 클라이언트)
- 운영체제: Mac OS Big Sur 11.0
- 프로세서: Core i7 (Intel Xeon 은 지원하지 않습니다)
- 메모리: 8 GB
- 그래픽 카드: Metal을 지원하는 Radeon Vega II 이상
- 네트워크: 브로드밴드 인터넷
- 여유 저장 공간: 62.2 GB (전체 클라이언트)
- 운영체제: 64bit Linux 중 최신 버전
- 프로세서: 2.4 GHz 듀얼코어
- 메모리: 4 GB
- 그래픽 카드: Vulkan 을 지원하고, 최신 그래픽 드라이버를 지원하는 NVIDIA 660 (6개월 미만) 혹은 그와 동급의 성능을 가지며 최신 그래픽 드라이버를 지원하는 AMD (6개월 미만; 최소사양 지원 해상도 720p)
- 네트워크: 브로드밴드 인터넷
- 여유 저장 공간: 22.1 GB (최소 클라이언트)
- 운영체제: Ubuntu 20.04 64bit
- 프로세서: Intel Core i7
- 메모리: 16 GB
- 그래픽 카드: Vulkan 을 지원하고, 최신 그래픽 드라이버를 지원하는 NVIDIA 1060 (6개월 미만) 혹은 그와 동급의 성능을 가지며 최신 그래픽 드라이버를 지원하는 AMD RX 570 (6개월 미만; 최소사양 지원 해상도 720p) 이상
- 네트워크: 브로드밴드 인터넷
- 여유 저장 공간: 62.2 GB (전체 클라이언트)
After the Battle of El Alamein in July 1942, both the Axis and Allied forces disengaged from major conflict in order to give themselves a chance to refresh and regroup. However, as the Germans and Italians desperately strove to prepare to strike at British lines, the supply situation had reached a point where Rommel’s hand was forced. Fearful of the growing British forces in Egypt, the DAK and the Italian Comando Supremo made the decision to strike while they still could.
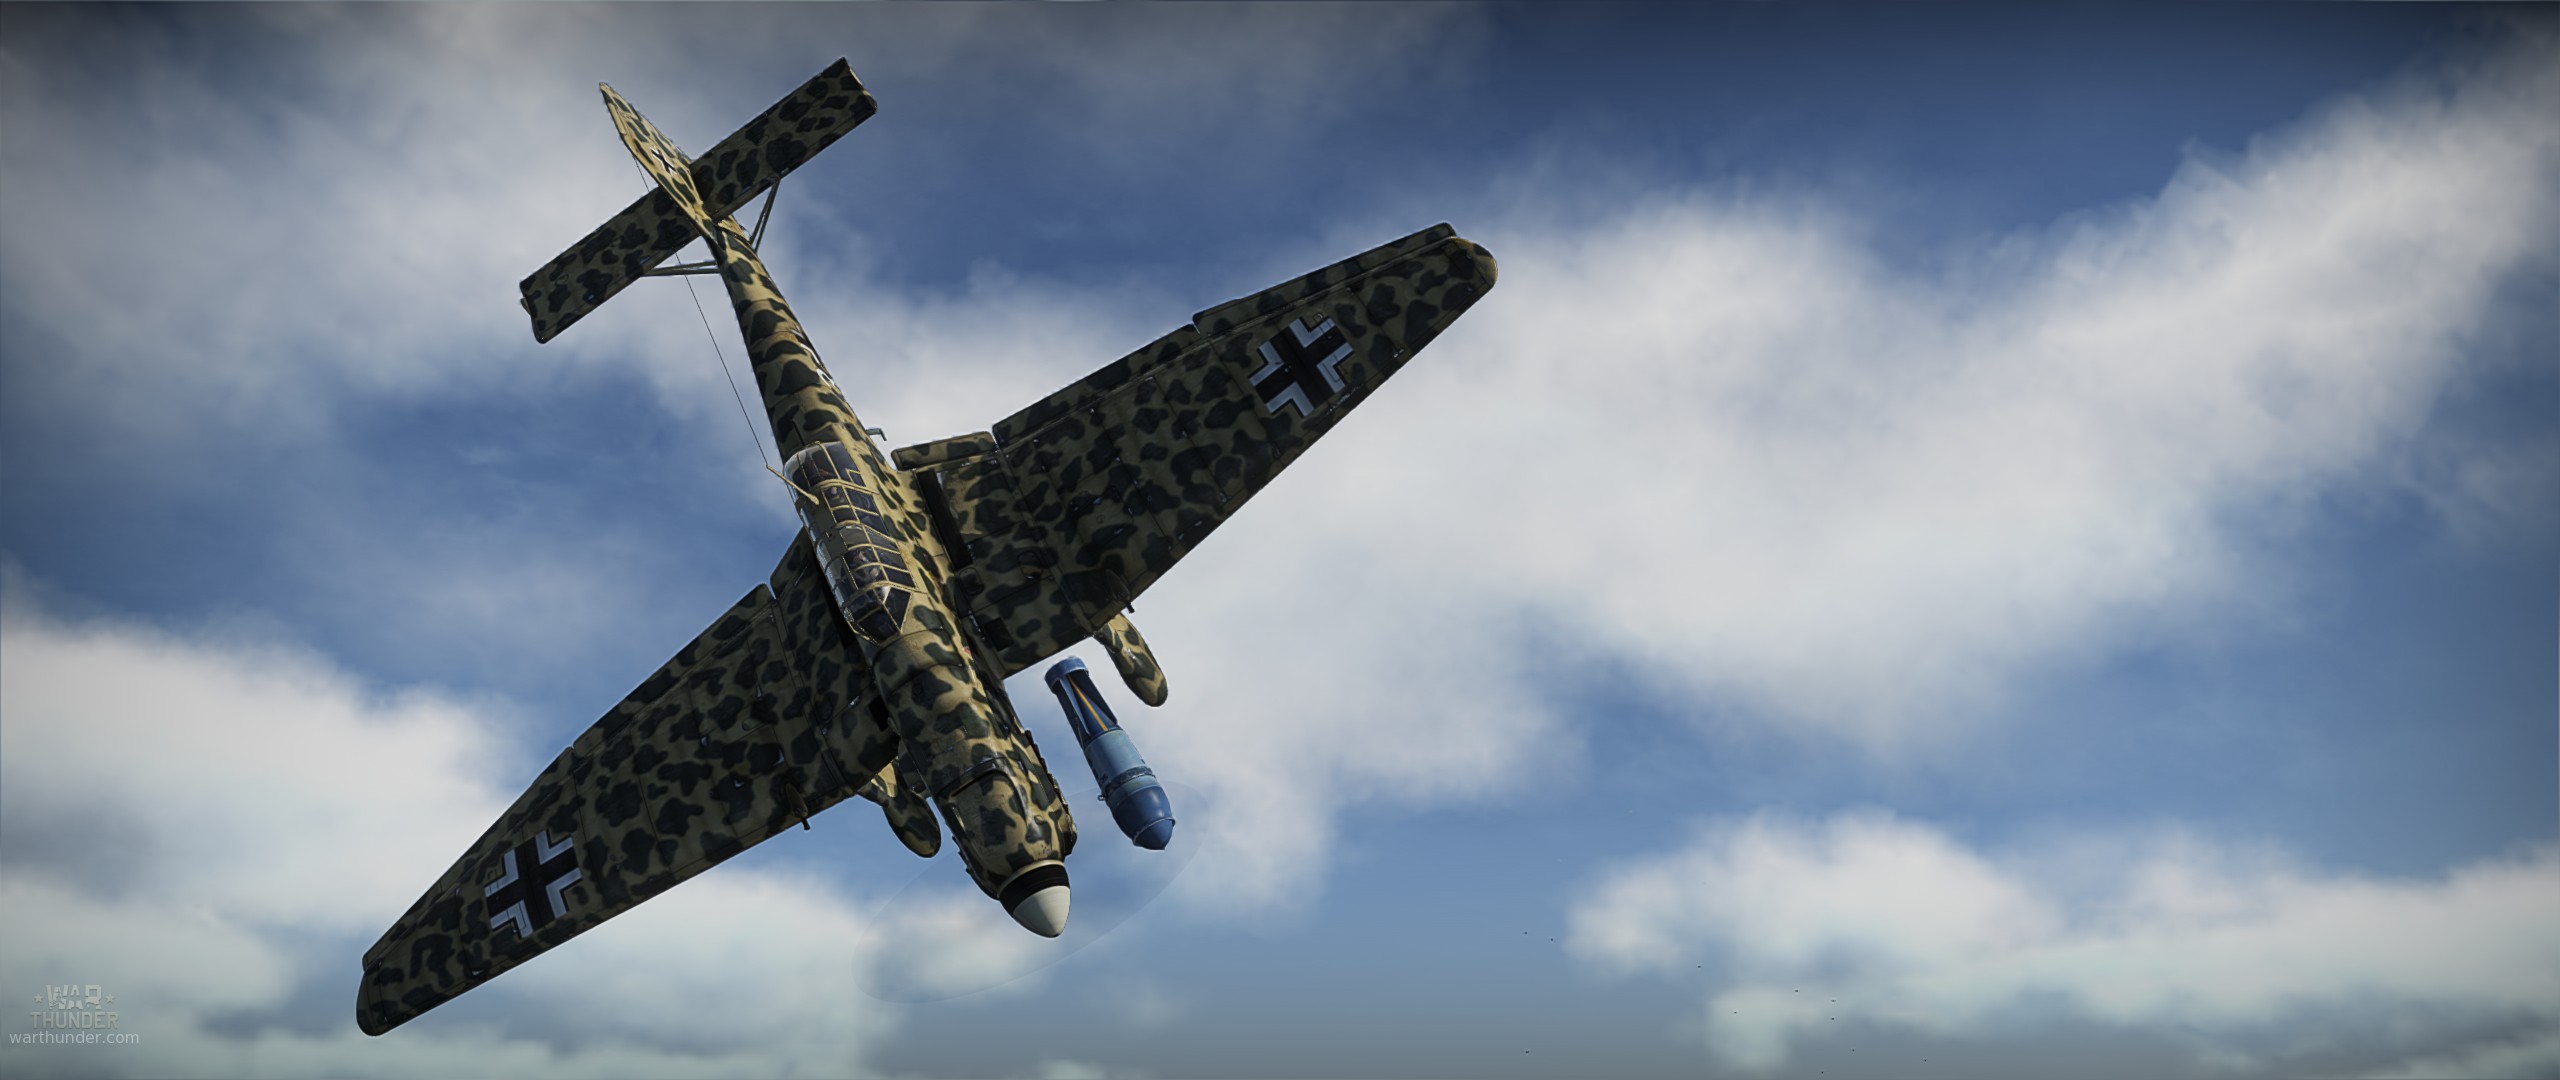 |
| Ju-87 R-2 with desert camouflage |
Above the desert sands the battle did not pause; it intensified. Daily battles of dozens of aircraft fought for control over the blue sky and the white sands of the Libyan and Egyptian deserts, spanning from the sea of the Mediterranean, where Ju88 A4 bombers harassed the scrap iron flotilla’s of the allied navies bringing supplies to the front, or when FAA aircraft and Wellingtons from Malta, or further afield, struck crucial supply convoys headed to Tunisia.
The air battles over the desert were often fierce, with a cut and thrust between what were, by now, very experienced forces. While Allied Spitfires, Kittyhawks and Hurricanes whirled and battled with the Bf109E/F’s and Bf110’s of the Luftwaffe, the harassment of ground forces continued. Ju88’s and Ju87 bombers made daily targeted attacks on allied airbases and on key defensive positions or supply dumps. Meanwhile, the Allied Desert Air Force maintained the growing pressure they were placing on Axis supply lines, flying deep into the desert and attacking the long convoys of trucks and other vehicles. Here, the long range and endurance of the British and US attack and bomber aircraft laid waste to the poorly protected supplies; Bostons, Mitchells and Beaufighters attacked with bombs, rockets and guns.
Forming a north south line from the coast just west of El Alamein to the endless sands of the Qattara depression, Montgomery’s defensive line was a carefully prepared trap. Using intelligence gathered from Ultra decrypts, he established his forces in such a way as to provoke Rommel to attack his static defensive positions. Rommel on his part obliged, attacking the southern sector of the British line, however from the onset of the attack, the German and Italian forces were in trouble. Allied aircraft, forewarned and prepared, launched devastating low level attacks. Hurricane IID’s and Beaufighters struck at the flanks of the armoured columns.
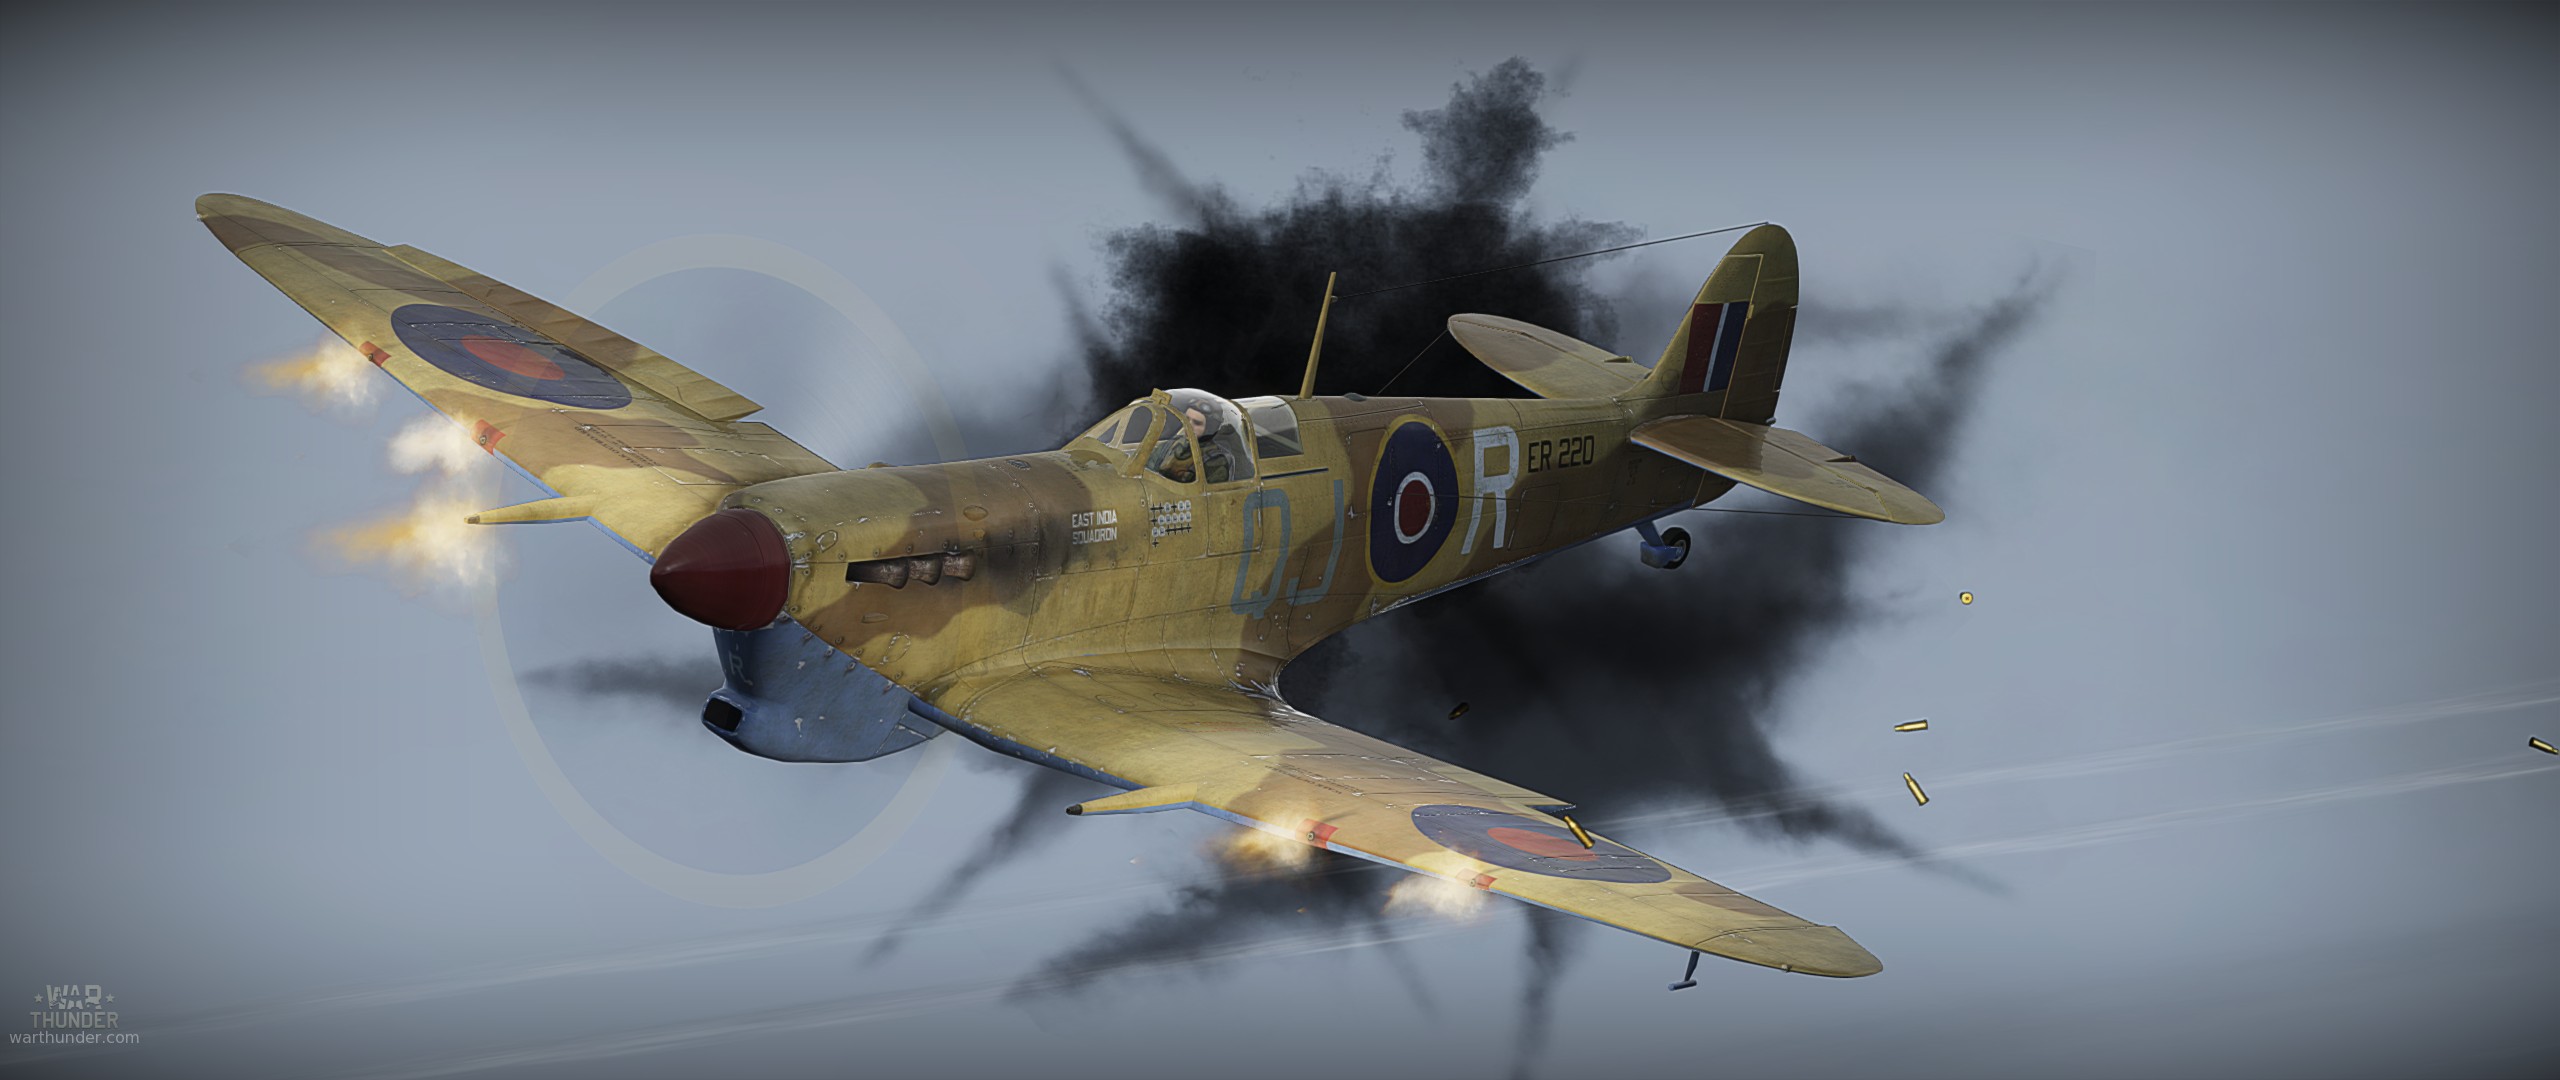 |
| Spitfire Mk.Vb with camouflage of 92nd squadron RAF |
The armoured units continued to advance, travelling through minefields and wire traps set up to slow down the German and Italian units. They were soon heading east, but had suffered considerable losses. Air attacks continued day and night, as did the constant barrage of artillery; as soon as a unit stopped, it would come under enemy fire. The troops were tired, and their vehicles groaned under the strain of continuous combat. The panzer III’s and IV’s of the DAK suffered profoundly from the constant attacks from artillery and the Air. Allied air superiority was intensive, with several supporting attacks by Axis Ju88’s and SM79’s unable to procure a breakthrough. Heading north and finally after coming up against the prepared positions at Alam Halfa, Rommel's tanks came to blows with Grant Mk.I tanks that had dug into ridge positions. While the Panzer IV F2’s long range guns retaliated against the M3’s as the Axis forces advanced, they suffered from the superior numbers and the return enemy fire of the well dug in Anti-tank guns. Montgomery’s tanks were not allowed to advance, and with that, the standard tactic of the DAK in using the fearsome 88 flak in support of it’s tanks, was neutralised. By the second of september, Rommel had realised he could not afford to continue his advance, hence resulting in his forces’ withdrawal.
Continuous attacks by Allied bombers maintained a daunting tempo on the DAK, even after they had returned to positions they had formerly held. By the 5th of september, the DAK was in an even worse supply situation than before the battle had ensued on the 30th of August. The Desert Air Force had succeeded in destroying up to 400 enemy supply vehicles by some accounts, even if many previously belonged to the British. While the Axis forces managed to retreat relatively intact, they had not been able to lure the Allied armies into destructive, open battles. Thus, Montgomery maintained and improved his positions, and Rommel was now comparatively much worse, and would remain so until the end of the desert war.
Author: Aaron “anglomanii” Lentz
With an upcoming update, we will add the Kangaroo emblem used by
Australian troops on captured vehicles & decal of the 278th sqn., Italy :
![]()